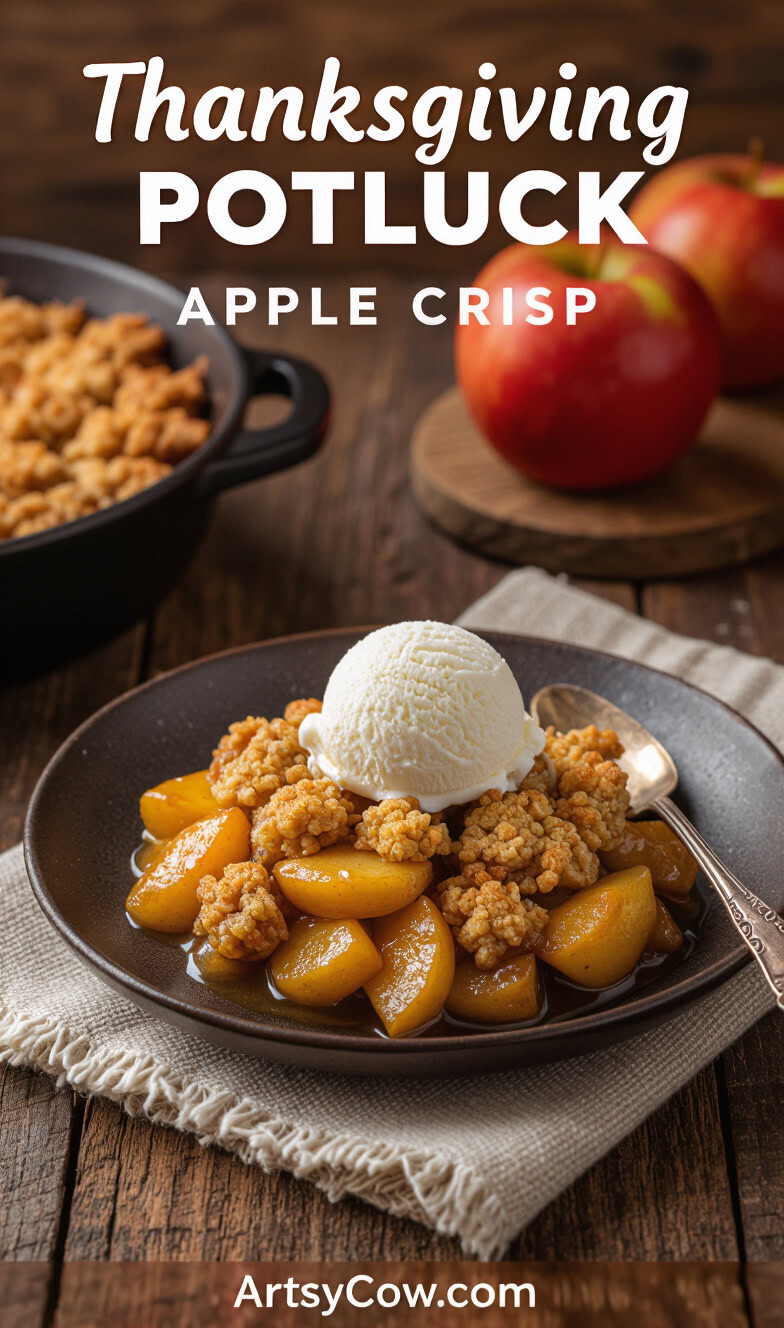
Nothing says “Thanksgiving hero” quite like walking in with a warm, bubbling dish of apple crisp. If you’re hoping to impress your friends and family at the potluck, this apple crisp is your ticket—sweet, spiced apples under a golden oat crumble that’s honestly hard to mess up.
Your only real challenge? Getting it to the party without “taste-testing” half the pan on the drive over.
Let’s be honest, pies usually hog the spotlight at Thanksgiving. But apple crisp is way easier and, dare I say, just as delicious—maybe more, but don’t tell Grandma.
No fancy skills required here. Just a few basic steps, a little mixing, and you’re basically a dessert legend.
If you’re ready to wow your potluck crowd—and maybe sneak the last scoop for yourself—let’s dive in.
Contents
- 1 Equipment
- 2 Ingredients
- 3 Instructions
- 4 What You Need To Know
- 5 Frequently Asked Questions
- 5.1 What’s the secret to getting that perfectly crumbly topping without accidentally making a brick?
- 5.2 Can I make my apple crisp ahead of time, or will the apples stage a mutiny and spoil the fun?
- 5.3 Which apple varieties will make my guests ask for seconds instead of the bathroom?
- 5.4 Is There an Easier Way to Peel Apples? Or Is Wrist Pain Just Part of the Deal?
- 5.5 How Much Topping Is Too Much? The Apple-to-Crisp Dilemma
- 5.6 Gluten-free options that actually taste good?
- 6 Author
Equipment
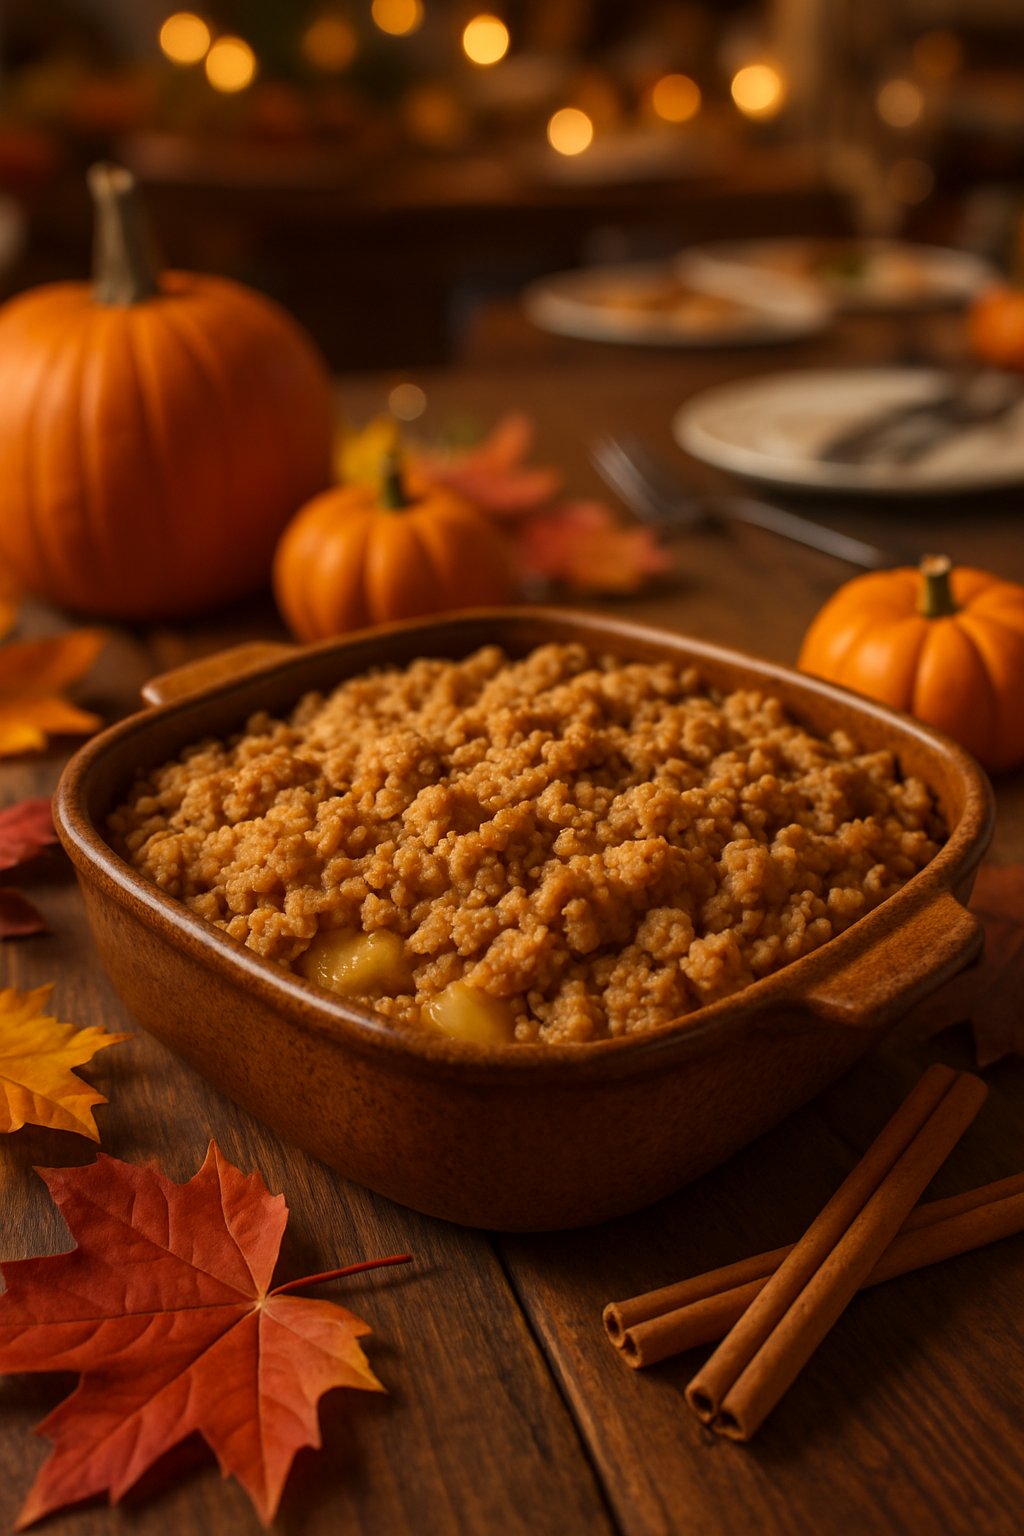
First, grab your cast iron skillet. It’s the real star—nothing crisps quite like cast iron, and it doubles as a handy arm workout.
You’ll need a mixing bowl (or two). This is where your apples, sugar, and oats get cozy before their oven spa day.
Don’t forget a cutting board and a sharp knife. Apples are stubborn—they’re not going to slice themselves.
A vegetable peeler helps if you want your crisp extra smooth, unless you’re into rustic bits of apple skin (no judgment if you are).
Here’s a quick checklist:
| Item | Purpose |
|---|---|
| Cast iron skillet | Baking crisp & arm workouts |
| Mixing bowls | Mixing filling & topping |
| Cutting board | Cutting apples |
| Sharp knife | Slicing apples (watch your fingers) |
| Vegetable peeler | Peeling apples |
| Measuring cups/spoons | Measuring stuff (exact science) |
| Oven mitts | Avoiding burnt fingers |
| Spatula or spoon | Scooping that sweet, crispy goodness |
If you’re feeling fancy, a pastry cutter can make your topping extra crumbly. Otherwise, just use clean hands—nature’s original kitchen tool.
And, of course, you’ll need an oven. Don’t forget to turn it on unless you’re aiming for cold, sugary apples instead of a crisp.
Ingredients
It’s time to build your apple crisp—no magic required, just the basics below.
Here’s what to round up before the apple slicing chaos starts:
| Ingredient | Quantity |
|---|---|
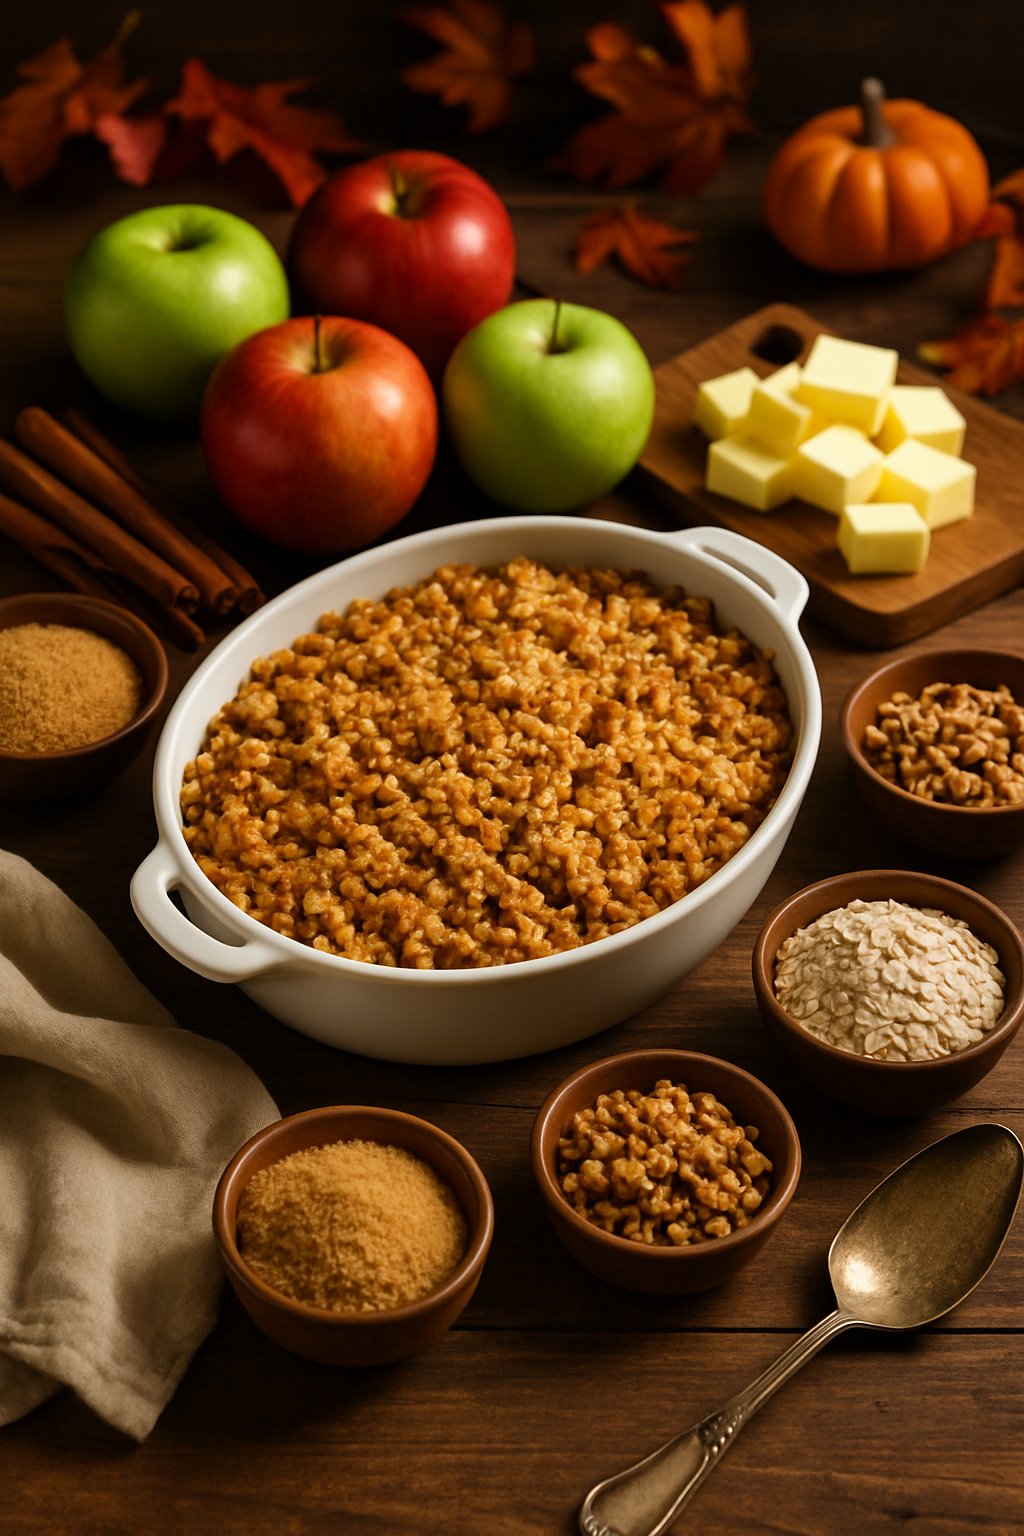
| Apples (mixed types) | 6 cups, peeled and sliced |
| Granulated sugar | 1/2 cup |
| Brown sugar (packed) | 1/2 cup |
| All-purpose flour | 3/4 cup |
| Old-fashioned rolled oats | 3/4 cup |
| Butter (cold, cubed) | 1/2 cup |
| Ground cinnamon | 1 teaspoon |
| Nutmeg | 1/4 teaspoon |
| Salt | 1/4 teaspoon |
| Cornstarch (optional) | 1 tablespoon |
| Lemon juice | 1 tablespoon |
Mixing sweet and tart apples like Honeycrisp and Granny Smith brings a flavor party (with no cleanup needed). You can check out the recommended apple combo at this apple crisp recipe.
Old-fashioned oats give your topping the crunch it needs. Instant oats? Just skip them this time.
Butter is non-negotiable for that golden crisp. Keep it cold and cube it up.
Optional: Add a little cornstarch for a thick, shiny apple filling. And a splash of lemon juice keeps things bright—no sour faces here.
Instructions
- Preheat your oven. This gives your crisp a head start and your kitchen a nice warm-up. Pretend you’re a professional chef and announce it to the room.
- Peel and slice the apples. Try not to eat them all. Toss them in a big bowl with sugar, cinnamon, and a little bit of lemon juice. Imagine you’re in a fall apple commercial.
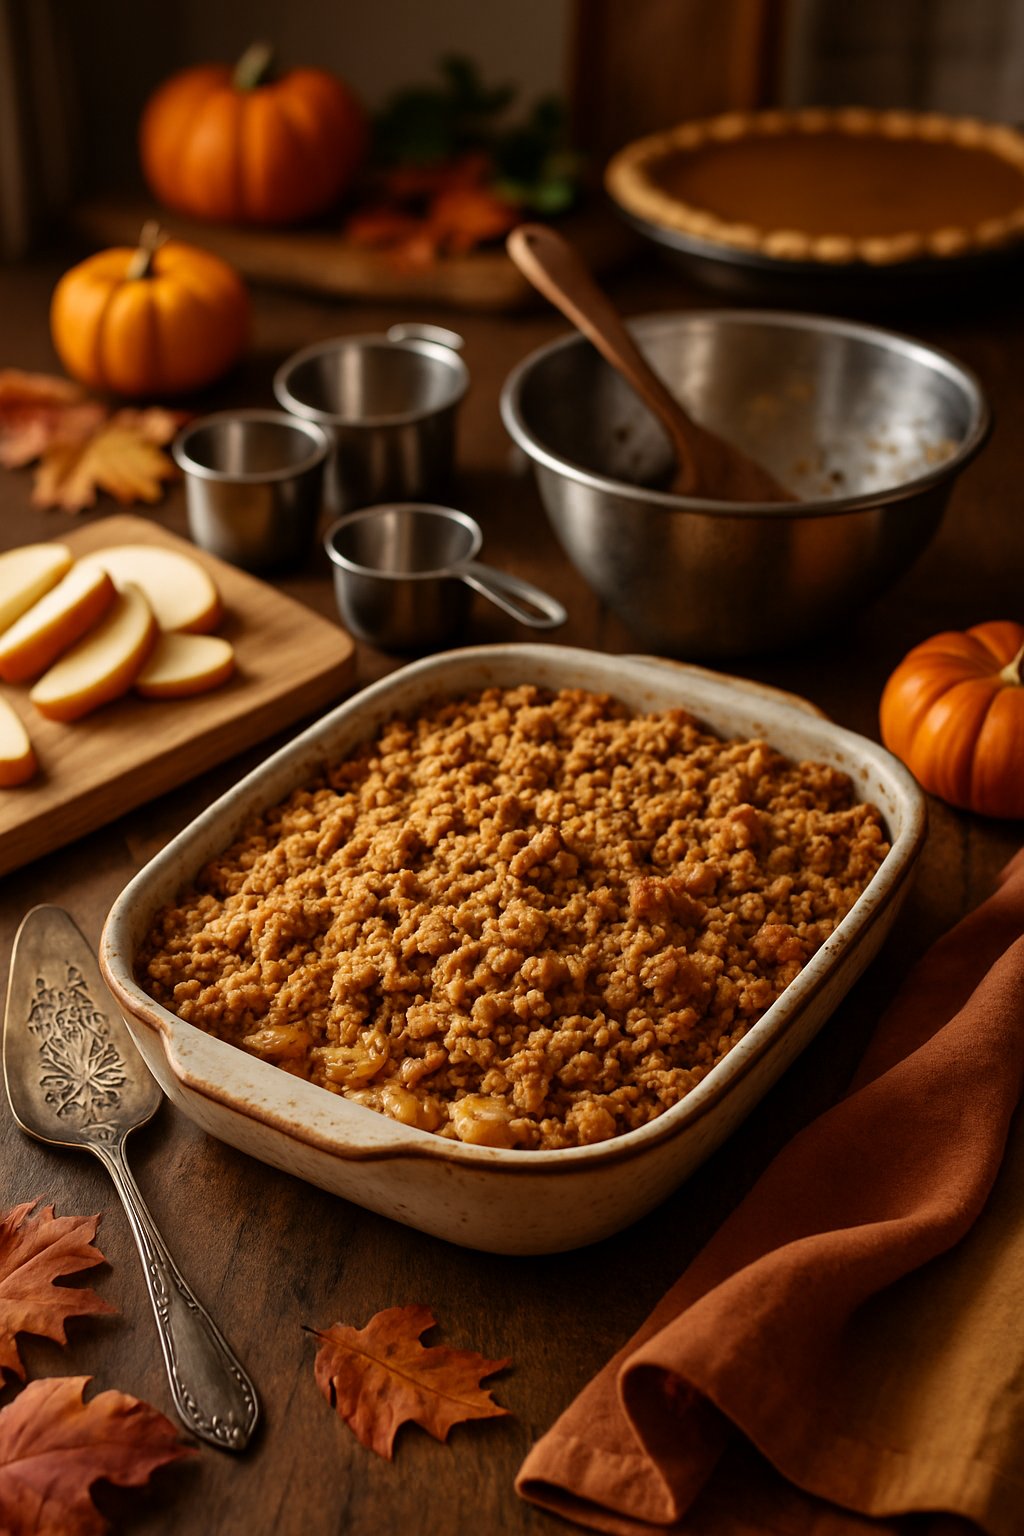
- Put the apple mix into your baking dish. Spread it out so there are no lonely apple slices hiding in the corners.
- In another bowl, mix together your oats, flour, and brown sugar. Add cold, chopped butter. Use your fingers, a fork, or your secret ninja technique to make it crumbly.
- Sprinkle the crumb topping over your apples. Try for as even a layer as you can (but don’t stress—rustic looks delicious).
- Pop the dish into the oven. Bake until the top is golden and the apples are bubbling. If your kitchen smells like heaven, you’re on track.
- Let it cool a bit before serving, even if you’re very impatient. This saves your tongue and your dignity.
- Serve up warm, with ice cream or whipped cream if you want. Watch it disappear quickly, and act surprised.
What You Need To Know
Want to look like you spent hours on dessert, but really didn’t? This is your recipe. Apple crisp is one of those rare, forgiving dishes—it’s simple, but it always gets people talking (and eating second helpings).
There’s no need to fuss about perfection here. A little uneven slicing? More “rustic charm.” The topping isn’t totally even? Still delicious. You can even get away with leaving some peel for extra texture, or, as I like to call it, “fiber.”
Honestly, the hardest part is waiting for it to cool without burning your tongue. But if you manage that, you’re golden. If you want more tips on making an easy, crowd-pleasing dessert, check out this classic apple crisp guide.
Frequently Asked Questions
Getting your apple crisp just right depends on the topping texture, apple choice, and timing. Picking the best techniques keeps your dessert from turning into a mushy casserole or something only your dentist would appreciate.
What’s the secret to getting that perfectly crumbly topping without accidentally making a brick?
You want cold butter and a gentle hand. Cut the butter into the flour, sugar, and oats just until clumps form.
Go too far and you’ll have dough balls fit for hockey. Too little and you get apples with fairy dust. Somewhere in the middle is the sweet spot.
Can I make my apple crisp ahead of time, or will the apples stage a mutiny and spoil the fun?
Yep, you can prep ahead, but keep the crisp topping separate from the filling until you’re ready to bake. If you assemble it all the night before, the topping soaks up the juice and gets sad and soggy.
Some people even freeze the unbaked crisp for a quick Thanksgiving treat. Handy, right?
Which apple varieties will make my guests ask for seconds instead of the bathroom?
Go for tart apples like Granny Smith, Honeycrisp, or Braeburn. They stay firm while baking and balance out the sugar.
Red Delicious? That’s a one-way ticket to mush. Choose wisely.
Is There an Easier Way to Peel Apples? Or Is Wrist Pain Just Part of the Deal?
Honestly, a decent peeler makes a world of difference. If you can get your hands on a crank-style apple peeler, you’ll fly through the job.
Or, let’s be real—sometimes it’s just easier to rope in a friend. If you’re in a rush, leaving the skins on isn’t the end of the world. Just give the apples a good wash and embrace the extra fiber.
How Much Topping Is Too Much? The Apple-to-Crisp Dilemma
No one wants a sad, soggy apple soup with a dusting of topping. The trick is to shoot for a 2:1 ratio of apples to topping by volume.
You want enough topping to cover the apples, but not so much that it turns into a crumble mountain. Trust your instincts—if it looks right, it probably is.
Gluten-free options that actually taste good?
Try using gluten-free oats and swap out regular flour for almond or oat flour. That way, the crumble topping still comes out crisp and flavorful.
Just make sure your oats are really labeled gluten-free—no one wants an unexpected surprise at the potluck.