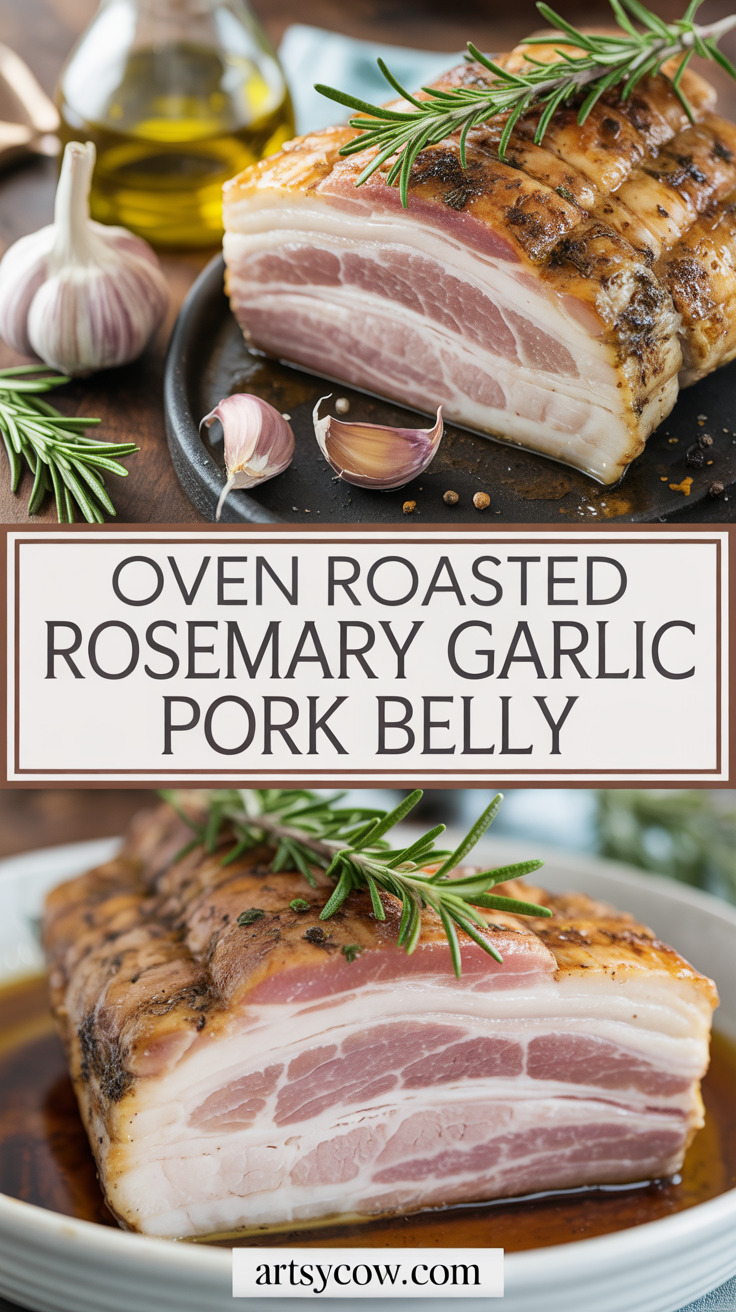
Crispy skin and melt-in-your-mouth meat, yes, please. If you want a showstopper without a culinary degree, this oven roasted pork belly is your ticket.
You’ll get savory garlic, aromatic rosemary, and a little sweet caramel from brown sugar.
But here’s the catch! The secret is simple technique, not hours of babysitting the oven.
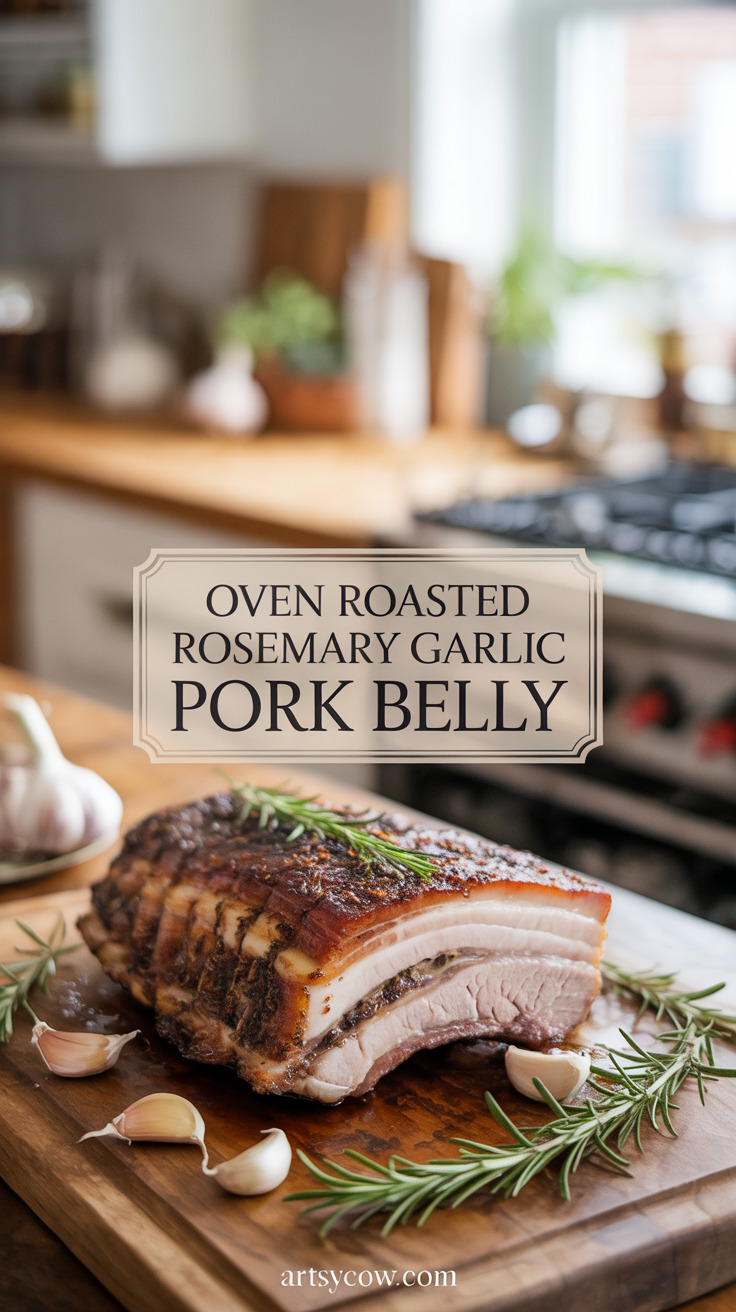
Follow a few easy steps and you’ll end up with a glossy, golden top and tender meat underneath.
That’s why this recipe works for weeknight wins and weekend flexes alike.
Contents
Equipment: Must-haves
- Roasting pan
- Sharp knife
- Meat thermometer
- Cutting board
- Oven mitt
Equipment: Nice-to-haves
- Wire rack
- Silicone brush
- Kitchen twine
- Kitchen shears
Ingredients
- 1 pork belly (about 2 to 3 lb) — skin on, bone out if possible
- 2 tbsp olive oil
- 4 garlic cloves, minced
- 1 sprig fresh rosemary, leaves removed and chopped
- 1 tbsp brown sugar (optional, helps caramelize)
- 1 tsp sea salt (plus extra for finishing)
- 1/2 tsp black pepper
- 1 lemon, zested (for bright finishing)
- 1 cup water (to create steam and keep meat tender)
Instructions
- Preheat the oven to 425F so the skin gets an early head start on becoming crispy.
- Pat the pork belly dry on the skin side with paper towel like you mean business to remove surface moisture.
- Use the sharp knife to score the skin in a diagonal crosshatch pattern without cutting into the meat; this helps fat render and skin puff.
- Trim any ragged bits of fat with the kitchen shears so the piece looks tidy and cooks evenly.
- If you want a neat roast, roll the belly and secure it with kitchen twine; otherwise roast flat for more surface crispiness.
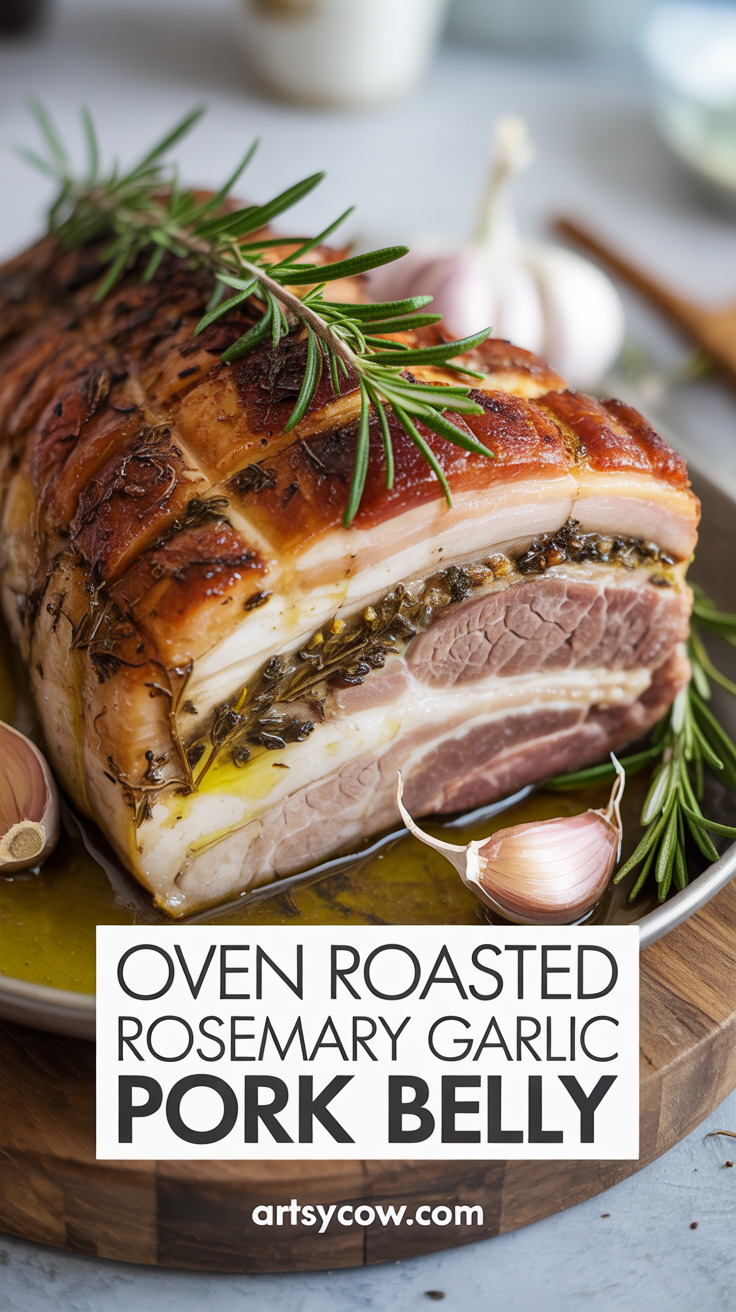
- Mix the minced garlic, chopped rosemary, olive oil, brown sugar, sea salt, and black pepper in a small bowl until it forms a paste.
- Flip the pork belly so the skin faces down and spread the paste over the meat side using your hands or a silicone brush; avoid putting the paste directly onto the skin.
- Place the wire rack into the roasting pan and set the pork belly on the rack skin side up so hot air can circulate and crisp the skin.
- Pour water into the bottom of the roasting pan to create gentle steam that will keep the meat tender while fat renders.
- Roast at the high temperature for 30 minutes to jump-start the skin crisping and begin rendering fat.
- Reduce the oven to 300F and continue roasting until the meat is tender and a meat thermometer reads about 195F for fall-apart tenderness; check after 90 minutes and then every 20 minutes.
- If you prefer slicable but still tender meat, aim for a lower internal temperature around 160F and check earlier.
- For extra crackling, increase the oven to 450F for the last 10 to 15 minutes while watching closely so the skin does not burn; that final blast gives the skin punchy color and crunch.
- Remove the pan from the oven using oven mitts and lift the pork belly with tongs onto the cutting board.
- Let the pork belly rest uncovered so the skin stays crisp and the juices redistribute; resting also makes slicing neater.
- Use the sharp knife to remove the kitchen twine if used, then slice across the grain into serving pieces.
- Sprinkle a pinch of sea salt over the skin and finish with lemon zest to brighten the rich flavors before serving.
What Else You Should Know
Tip: Dry skin is the friend of crackling. Pat it very dry and score it shallowly.
Variation: Swap rosemary for thyme or add a pinch of smoked paprika for a smoky note.
Serving suggestion: Serve with roasted potato, steamed greens, or a crisp salad to cut the richness.
A spoonful of mustard or a vinegar-based slaw plays nicely with the fatty meat.
Timing note: If you like your pork belly tender enough to pull apart, cook to a higher internal temperature.
If you prefer firm slices with a little chew, pull earlier. Always use the meat thermometer for safety.
Leftovers: Chill and slice thin for sandwiches or pan-fry slices until the edges re-crisp.
Final tip: Give the pork a short rest and a quick sprinkle of salt just before serving—the little things make a big difference.