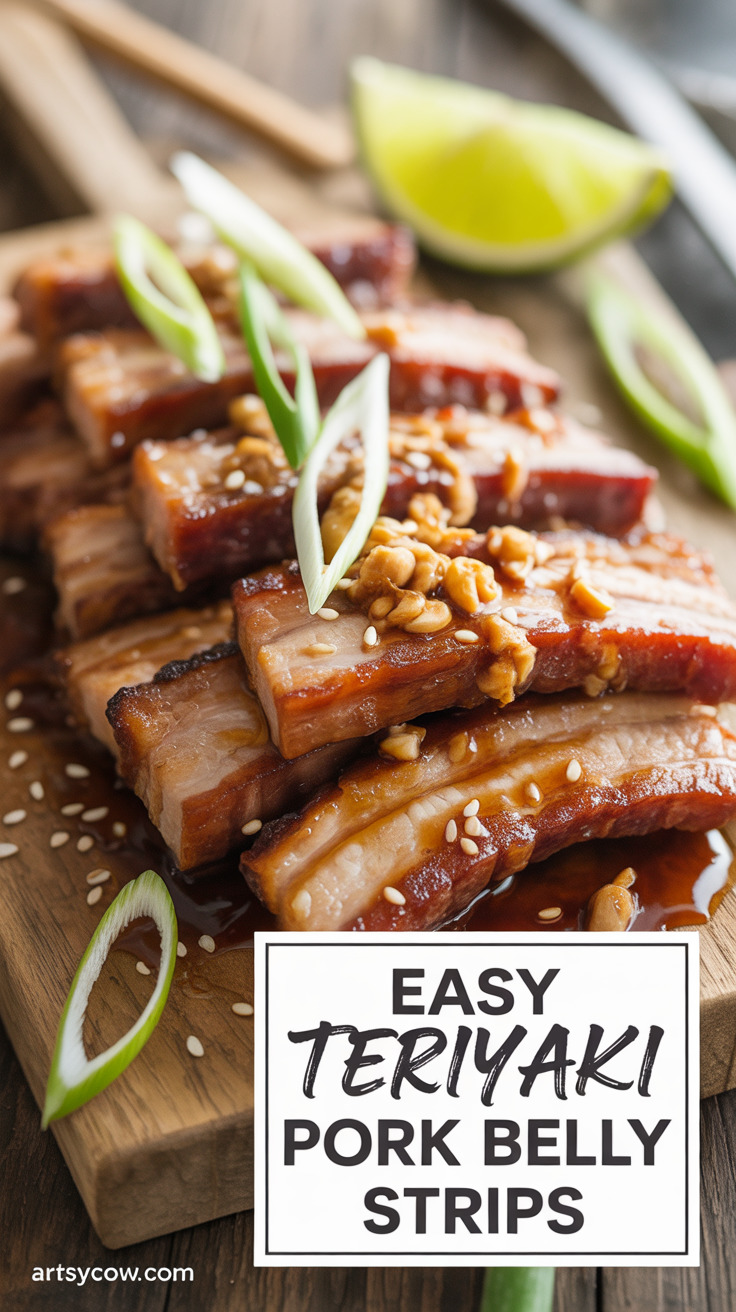
Craving sticky, sweet, and irresistibly crispy pork belly but short on time?
This recipe turns one humble piece of pork belly into a restaurant-level snack without drama. Quick, forgiving, and a little bit naughty (in the best way), it gives you glossy teriyaki flavor and crackly edges.
That’s why dinner suddenly looks like it deserves applause.
Contents
Equipment: Must-haves
- Heavy skillet (cast-iron or stainless steel)
- Baking sheet
- Mixing bowl
- Tongs
- Sharp knife
- Cutting board
- Measuring spoon set
Equipment: Nice-to-haves
- Wire rack that fits the baking sheet
- Kitchen thermometer (instant-read)
- Basting brush
- Silicone baking mat

Ingredients
- 1 lb pork belly, skin-on or off, trimmed and cut into 1/2-inch strip
- 1/4 cup soy sauce (or tamari for gluten-free)
- 2 tbsp mirin
- 1 tbsp rice vinegar
- 1 tbsp brown sugar
- 1 clove garlic, minced
- 1 tsp fresh ginger, minced
- 1 tsp sesame oil
- 1 tbsp cornstarch
- 1 tbsp water (for slurry)
- 1 tsp neutral oil (for pan)
- 1 green onion, thinly sliced for garnish
- 1 tsp sesame seed for garnish
- 1 lime wedge (optional, for finishing)

Instructions
- Pat the pork belly dry with paper towel to remove excess moisture; this helps the exterior get crispy so it actually cracks like a good plan.
- Slice the pork belly into uniform strip; use a sharp knife and keep fingers out of the way—this is not the time for a close call.
- Heat the skillet over medium-high until it is hot enough that a drop of water sizzles; add the neutral oil and swirl to coat the pan.
- Sear the pork belly strip in a single layer without crowding the skillet until the edges are nicely browned on the first side; use tongs to flip and brown the second side.
- Transfer the seared pork belly strip to a baking sheet lined with a silicone baking mat or parchment; if you have a wire rack, place the strip on the rack so air circulates under it for extra crisp.
- Preheat the oven to 425F with the rack in the middle position while the pork rests briefly after searing.
- Roast the pork belly strip in the oven for about 12–15 minutes until the fat renders and the edges start to crisp; use an instant-read thermometer if you like—rendered fat and a sizzling sound are your friends.
- If you want the finish extra-crisp, switch the oven to broil and broil the strip for 1–3 minutes while watching closely to avoid burning; this is where dinner gets dramatic.
- While the pork cooks in the oven, whisk together soy sauce, mirin, rice vinegar, brown sugar, garlic, ginger, and sesame oil in the mixing bowl to make the teriyaki glaze.
- Make a cornstarch slurry by stirring the cornstarch into water in a small bowl until smooth; this will turn the glaze into sticky magic without lumps.
- Return the skillet to medium heat and pour in the teriyaki glaze; bring it to a simmer and let it reduce slightly until aromatic.
- Whisk in the cornstarch slurry and simmer for a minute until the glaze is glossy and thick enough to coat the back of a spoon; reduce heat if it threatens to burn.
- Remove the pork belly strip from the oven and transfer it back to the skillet with the glaze; toss or spoon the glaze over the strip until it is fully coated and lacquered.
- Use a basting brush to apply extra glaze if you want every bite intensely sticky and show-off-worthy.
- Let the glazed pork belly rest for a minute; that little pause lets the sauce set and saves your mouth from molten regret.
- Transfer the strip to a serving plate, garnish with the green onion and sesame seed, and finish with a squeeze of lime if you like a citrus pop.
- Be careful when broiling; the glaze can caramelize quickly and go from perfect to charcoal in seconds.
- Use the kitchen thermometer to check for a safe internal texture if you’re uncertain — though pork belly is usually judged by fat render and crispness rather than a specific internal temp.

What Else You Should Know
Tip: Dry surface equals crisp skin. Patting the pork belly strip dry is the single most useful thing you can do.
Variation: Swap mirin for a splash of sake or extra rice vinegar for brightness if you don’t have mirin on hand. Serving suggestion: Serve the strip over steamed rice, inside a toasted bun, or on top of a simple salad for contrast.
That little bowl of rice will never forgive you if you skip it. Storage: Cool the pork belly strip, then store it in an airtight container in the fridge for up to three days.
Reheat under a broiler or in a hot skillet to revive crispness. Make-ahead note: You can make the glaze ahead and keep it chilled; warm it gently before glazing the pork if you’re doing meal prep.
Health note: Pork belly is deliciously indulgent, rich in fat, and best enjoyed in moderation. Balance it with lots of greens or a crisp cucumber salad.
Quick fix for thin glaze: If the glaze gets too thick after cooling, stir in a splash of water and warm gently until pourable again. If you don’t own a wire rack, place the strip directly on the silicone mat; it will still crisp nicely but may sit in rendered fat — spoon off excess fat before glazing.
Final pro tip: Keep an eye during broiling and stand ready with tongs; that is the chef’s version of drama control. Enjoy the sticky, glossy result and try not to hog the whole strip.