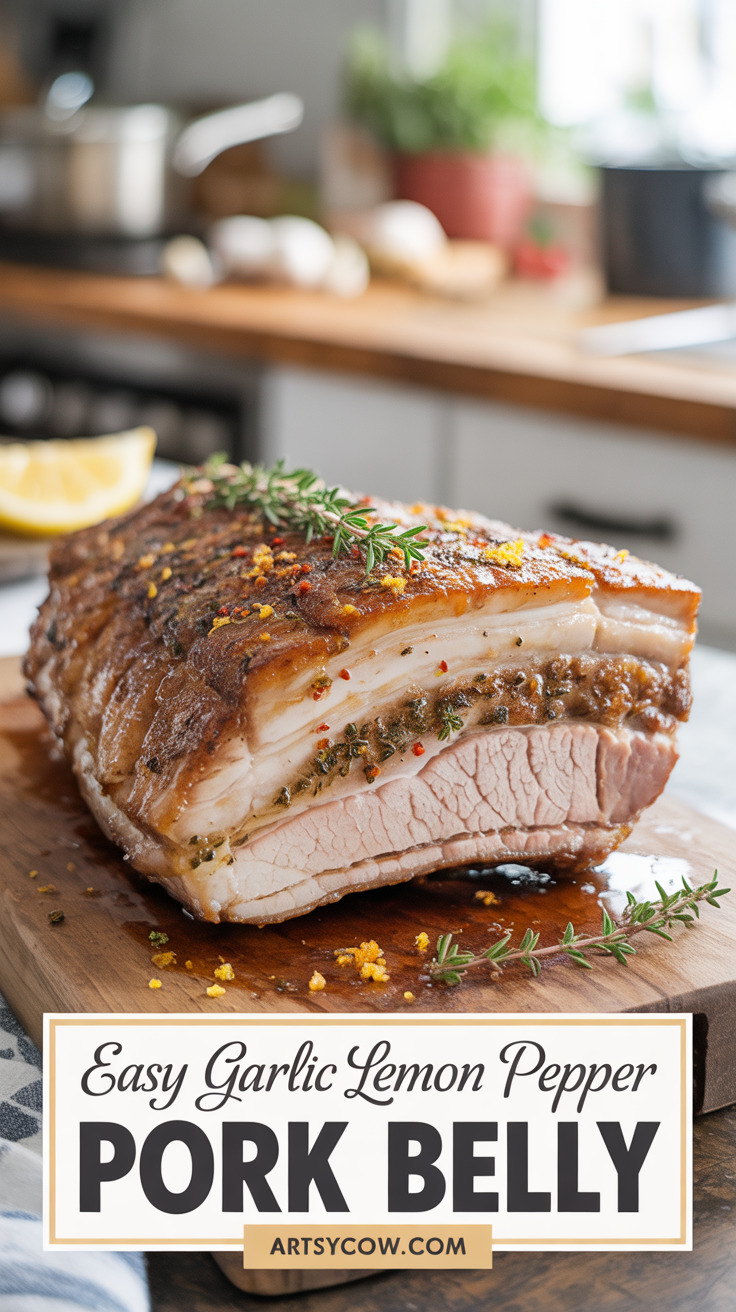
Craving something rich, crispy, and impossibly satisfying without turning your kitchen into a smoke signal? This Easy Garlic Lemon Pepper Pork Belly fixes that with minimal drama and maximum flavor.
You’ll get crackling skin, tender meat, and a tangy garlic-lemon kick that makes dinner feel like a celebration. But here’s the catch!
It looks fancy but is shockingly simple.
Contents
Equipment: Must-haves
- Oven (reliable heat source) — for consistent roasting
- Roasting pan — to catch all the glorious drippings
- Wire rack — keeps the pork belly out of the fat pool
- Sharp knife — for scoring and trimming
- Cutting board — because countertops are shy
- Meat thermometer — the only way to avoid guesswork
- Mixing bowl — for the rub and glaze
- Paper towel — to dry the skin (crisping secret)
Equipment: Nice-to-haves
- Kitchen twine — to roll and tie the belly into a neat roast
- Basting brush — for glazing like a pro
- Cast-iron skillet — to finish and crisp if you like extra sear
Ingredients
- 1 boneless pork belly (about 2 lb), skin on and trimmed of excess loose bits
- 1 tablespoon olive oil
- 1 teaspoon kosher salt (or adjust to taste)
- 1/2 teaspoon freshly ground black pepper
- 4 cloves garlic, minced
- 1 teaspoon garlic powder
- Zest of 1 lemon
- Juice of 1 lemon
- 1 tablespoon honey or maple syrup
- 1 tablespoon soy sauce (optional, for umami)
- 1/4 teaspoon red pepper flakes (optional, for a hint of heat)
- Fresh thyme sprig (optional, for garnish)
- Extra olive oil for rubbing the skin
Instructions
- Preheat the oven to 450F so it’s hot and ready for action.
- Pat the pork belly skin very dry with paper towel; dry skin is the first step to crispy magic.
- Use a sharp knife to score the skin in shallow diagonal lines, making a crosshatch pattern; be careful not to cut all the way through to the meat.
- Rub the skin lightly with a little olive oil and a pinch of salt so the scoring shows and the skin begins to crisp.
- On the meat side, combine minced garlic, garlic powder, lemon zest, black pepper, salt, olive oil, honey, and soy sauce in the mixing bowl and mix until you have a sticky, fragrant paste.
- Turn the pork belly so the meat side is up and spread the paste evenly across the meat, leaving the skin side dry and unseasoned aside from the oil and salt.
- If you want a neat round roast, roll the pork belly into a log and tie it with kitchen twine at even intervals; that step makes slicing look professional and keeps cooking even.
- Place the wire rack inside the roasting pan and transfer the pork belly onto the rack, skin side up, so the fat can render into the pan and the skin gets air all around it.
- Roast at high heat for thirty minutes to jump-start the crackling process and render some fat; keep an eye on it like you would on a soap-opera plot twist.
- After the initial blast, reduce oven temperature to 325F and continue roasting until the meat is tender and fat is well rendered; check for doneness using the meat thermometer.
- Aim for a safe internal temperature for tender pork but know that letting the internal temp rise closer to the melting range helps the fat break down; use your thermometer and judge by texture.
- If the skin needs extra crackle, move the roast to a cast-iron skillet and put it under the broiler for a few minutes, watching constantly to avoid burning; broilers are lovely but temperamental.
- Remove the pork belly from the oven and let it rest for at least ten minutes; resting lets the juices settle and makes slicing cleaner.
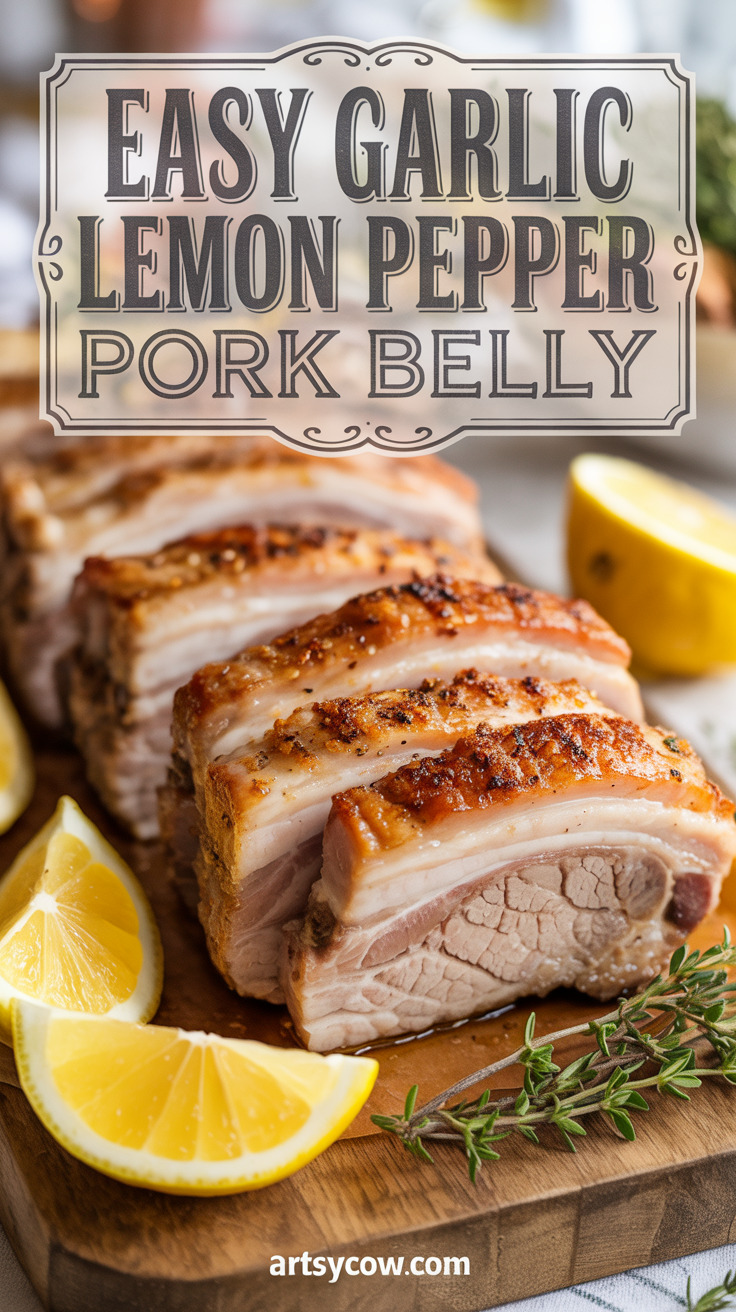
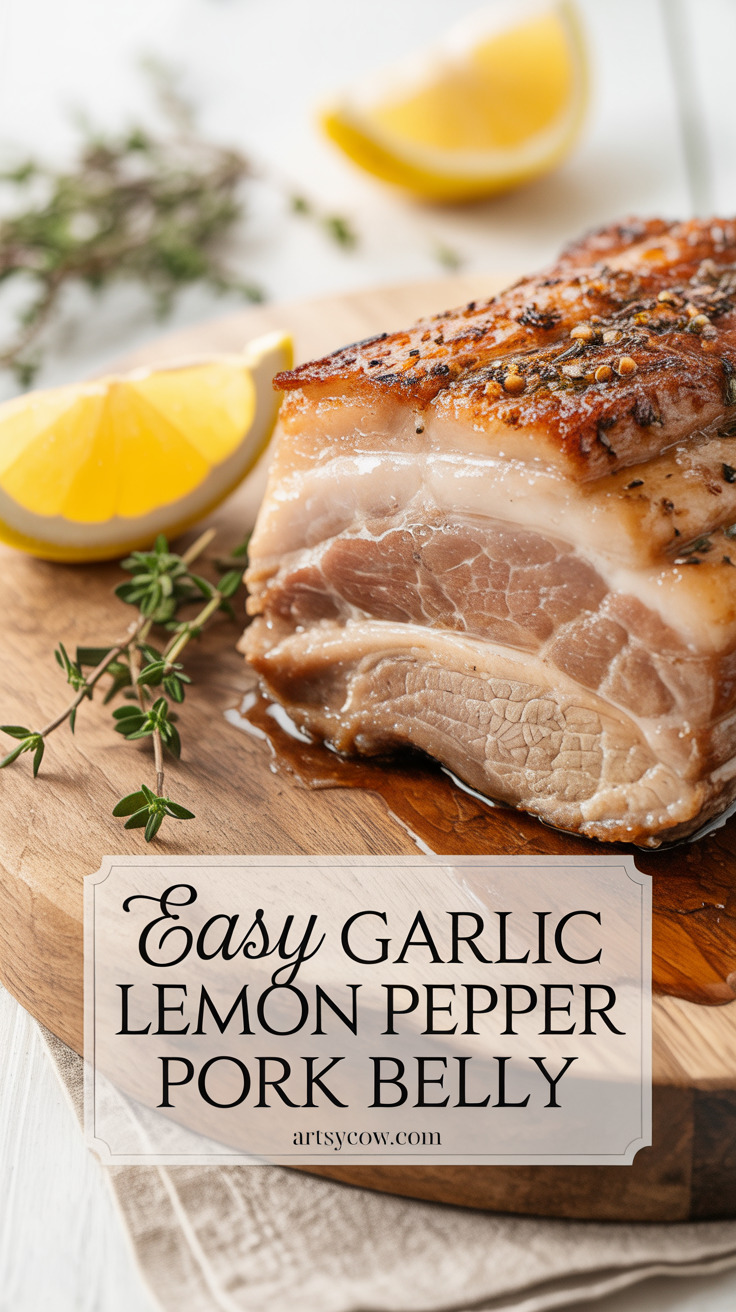
- Slice the pork belly across the grain into even portions using a sharp knife, and garnish with a sprig of fresh thyme and a light squeeze of lemon for brightness.

What Else You Should Know
Tip: Scoring the skin and drying it well are the two moves that turn chewy skin into crackling. That’s why patience and paper towel are your secret weapons.
Variation: For a sticky glaze, whisk extra honey with lemon juice and brush it on in the last ten minutes of roasting. Serving suggestion: Serve slices with simple steamed rice, roasted vegetables, or a crunchy salad to cut the richness.
A wedge of lemon on the plate is a game changer. Storage: Leftovers keep well refrigerated for up to three days; reheat gently in a cast-iron skillet to re-crisp the edges.
Safety note: When you broil to crisp the skin, stand by the oven — broilers work fast and will go from glorious to charred in seconds. Final thought: This recipe is fancy enough to impress and easy enough for weeknights.
Enjoy the moment when the first piece hits your plate and everyone suddenly gets very interested in cooking.