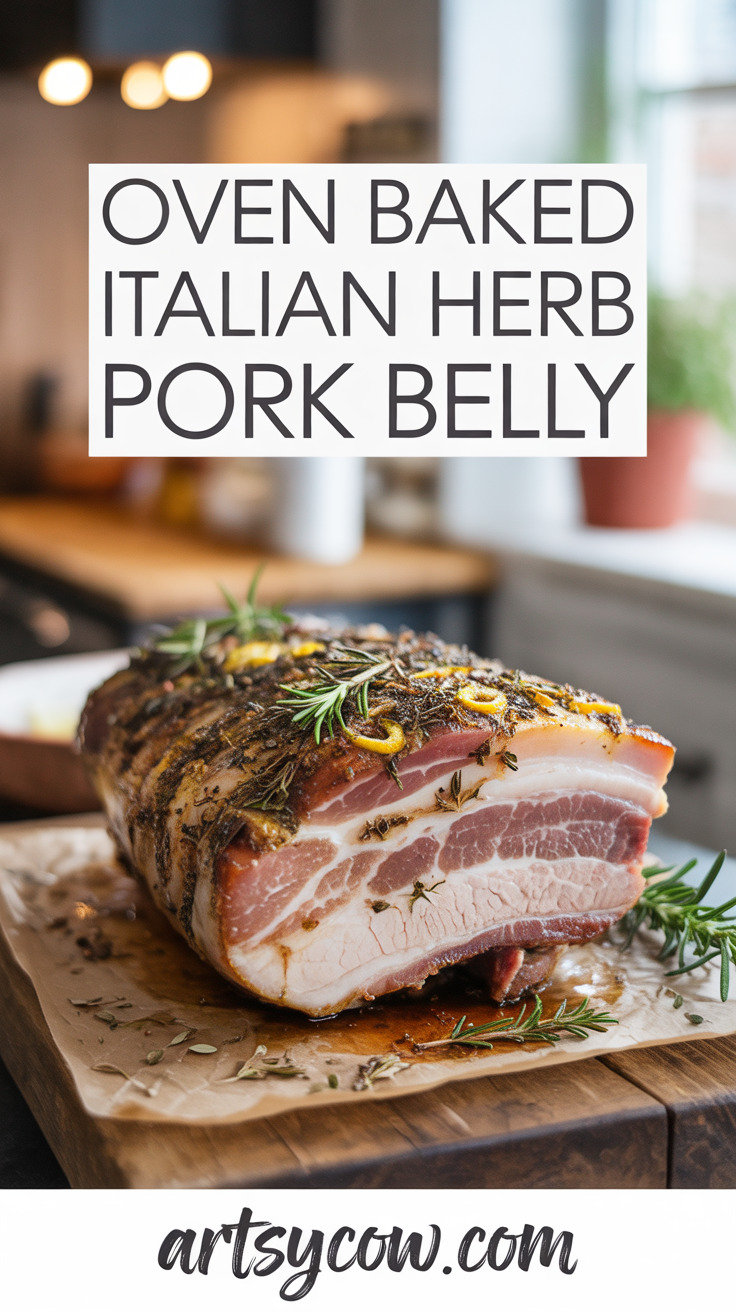
Dreaming of crackling skin and melt-in-your-mouth pork without fancy gadgets?
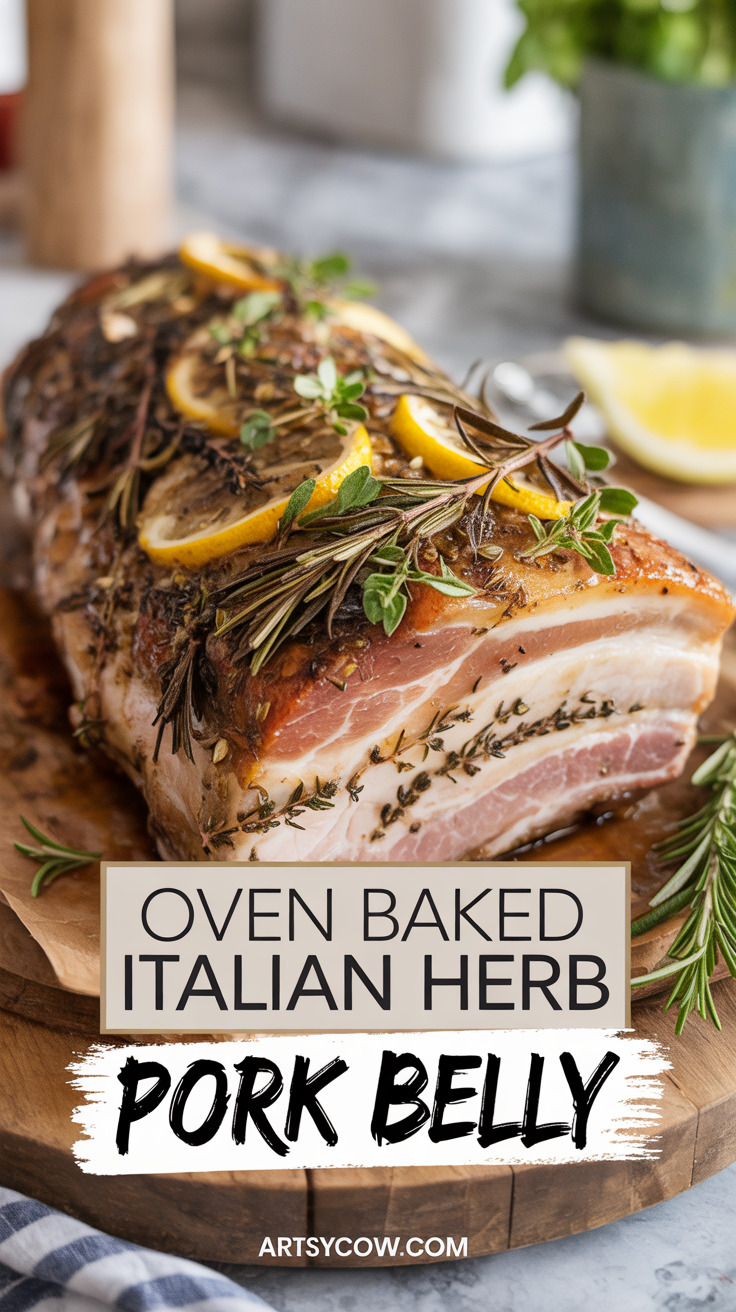
If you love big flavor and slightly smug dinner-party commentary, this is your moment. This oven-baked Italian herb pork belly gives you herb-scented meat with a crisp top that makes dinner guests applaud silently (or loudly, I don’t judge).
Follow a few simple steps and a little patience, and you’ll have a dish that feels luxurious but is shockingly easy to make. That’s why this recipe is a weekday win and a weekend showstopper.
Contents
Equipment: Must-haves
- Roasting pan
- Wire rack
- Sharp knife
- Cutting board
- Aluminum foil
- Meat thermometer
- Mixing bowl
- Oven mitt
Equipment: Nice-to-haves
- Kitchen twine
- Silicone basting brush
- Cooling rack
- Chef’s torch
- Microplane
Ingredients
- 1 pork belly (about 2–3 lb) with skin on (single item is the star)
- 2 tsp kosher salt (for seasoning and dry-brining)
- 1 tsp black pepper
- 1 tbsp olive oil
- 4 garlic clove, minced (yes, use the garlic, we’re Italian now)
- 1 tbsp fresh rosemary, chopped
- 1 tbsp fresh thyme, chopped
- 1 tsp dried oregano
- 1 lemon, zested and halved (zest brightens everything)
- 1 tbsp honey (for a glossy, slightly sweet glaze)
- 1 cup chicken broth (to keep the roasting pan happy)
- 1 bay leaf (optional, adds subtle depth)
- 1 tsp fennel seed (optional—gives that classic pork note)
- 1 tbsp red wine vinegar (or substitute with extra lemon juice)
Instructions
- Pat the pork belly skin dry with paper towel until it looks like it’s ready for a suntan; dry skin is the secret to crisp skin.
- Score the skin in a crosshatch or parallel lines, being careful not to cut too deep into the meat; a sharp knife makes this safe and neat.
- Mix the salt, pepper, minced garlic, chopped rosemary, chopped thyme, dried oregano, fennel seed, olive oil, lemon zest, and red wine vinegar in a mixing bowl to form a fragrant herb paste.
- Rub the herb paste onto the meat side and the sides of the pork belly, and rub a thin layer of salt over the skin; that dry-salt layer helps draw moisture out for better crackle.
- If you have kitchen twine, tie the pork belly into a neat roll or bind the ends to keep an even shape; this helps it cook uniformly and look professional.
- Place the wire rack inside the roasting pan and set the pork belly on the rack skin side up so air can circulate around the meat.
- Pour the chicken broth into the bottom of the roasting pan and add the bay leaf; the liquid creates gentle steam and keeps drippings from burning.
- Cover the pork belly loosely with aluminum foil, shiny side out, to trap moisture for the first phase of cooking.
- Preheat the oven and roast low and slow at 325°F for about two to two and a half hours until the meat is tender and the fat has rendered; set your meat thermometer into the thickest part to monitor progress.
- Remove the foil and baste the pork belly with the pan juices using a silicone basting brush for extra flavor and sheen.
- Increase the oven temperature to 450°F to crisp the skin, and roast uncovered until the skin puffs and turns deeply golden, about 20–30 minutes; watch closely so it doesn’t burn.
- If you prefer surgical control over the final crackle, use a chef’s torch to blister any stubborn spots on the skin for an even crisp finish.
- About halfway through the high-heat crisping, brush the meat side with a thin glaze made from honey and a squeeze of lemon; this creates a shiny, herbal-sweet contrast to the salty skin.
- Check the internal temperature with your meat thermometer; aim for a safe internal temp of 145°F to 160°F depending on your preference for slightly rosy to fully cooked pork.
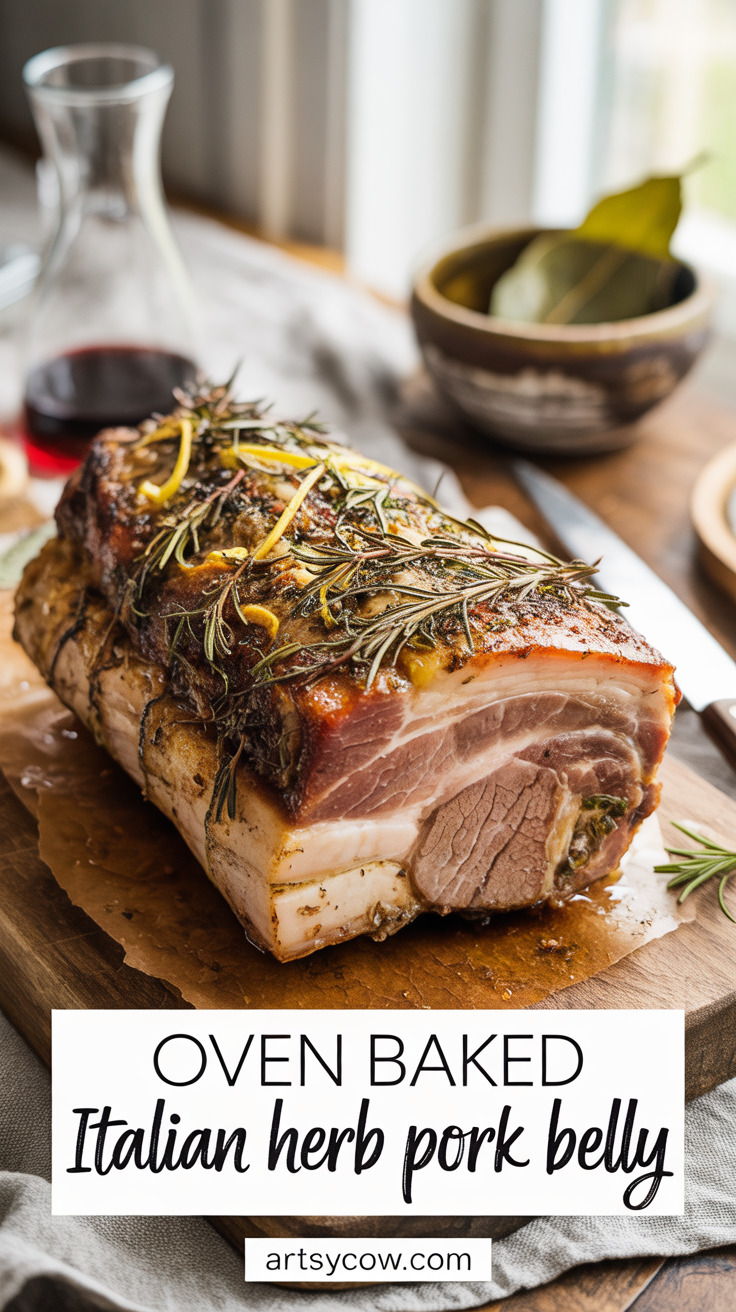
- Carefully remove the pork belly from the oven using oven mitts and transfer it to a cooling rack to rest; resting lets juices redistribute and keeps the meat juicy.
- Let the pork belly rest for at least 15 minutes before slicing so the juices settle and the slices hold together beautifully.
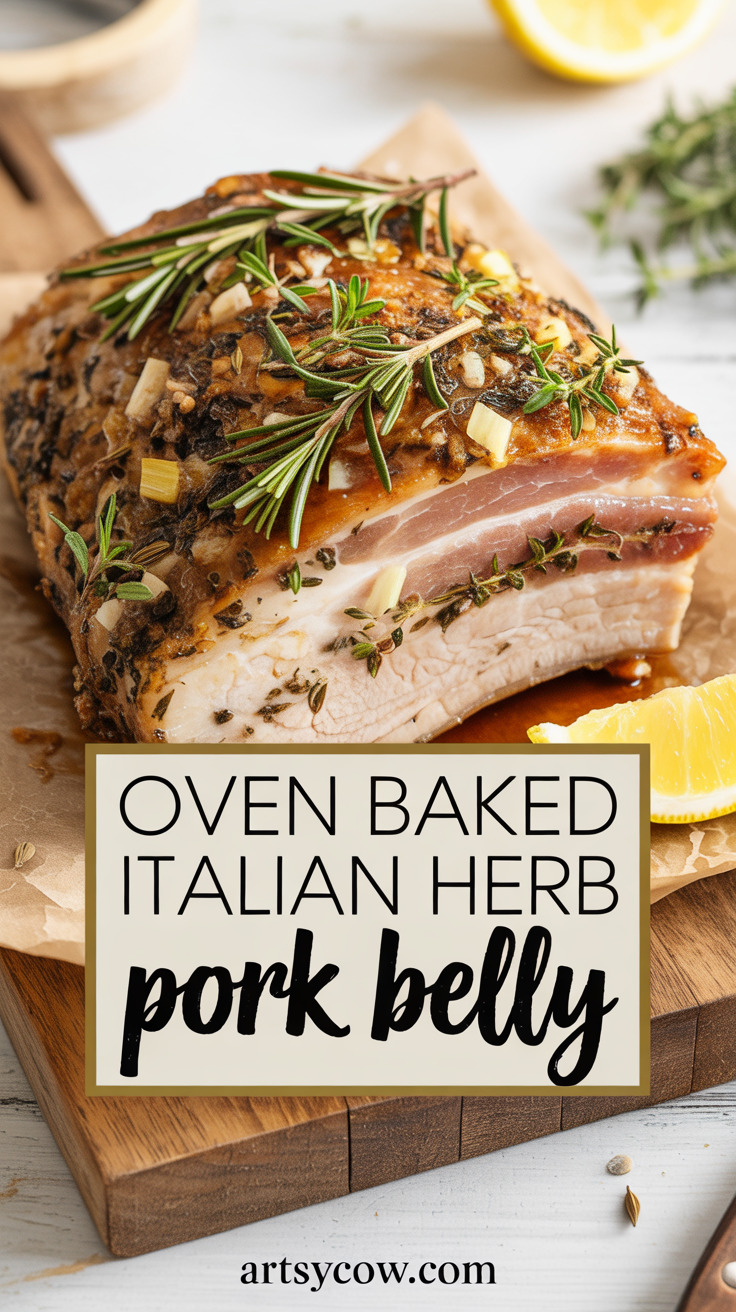
- Slice the pork belly into generous single portions with a sharp knife, cutting across the roll for the best presentation and texture.
- Serve with roasted vegetables, a bright salad, or on a crusty slice of bread with a spoonful of pan jus; garnish with extra chopped thyme or a lemon wedge for guests who like to squeeze everything.
What Else You Should Know
Timing tip: The low-and-slow phase renders fat and makes the meat silky, while the final blast of high heat gives you that crackle everyone low-key fights over. Overnight prep: For even better skin, dry-brine the pork belly uncovered in the refrigerator overnight after rubbing with salt.
The fridge acts like a dehydrator and is basically magic. Glaze ideas: Swap honey for maple syrup or balsamic reduction for a richer note.
Add chili flake to the glaze if you like a little sass. Serving suggestion: Slice thin and pile on a bun with pickled onion and a smear of mustard for an epic sandwich.
Or serve single slices plated with polenta and roasted greens for a grown-up dinner. Safety note: Use the meat thermometer and avoid guessing; pork should reach a safe internal temperature and resting helps finish the process.
Leftover love: Cool slices quickly, refrigerate, and reheat gently to keep the skin tolerably crisp. Or chop and toss into fried rice or pasta—there’s no shame in fridge-inspired genius.
If you have the microplane, use it to zest fresh lemon over the finished dish. If you have the chef’s torch, you now have both power and responsibility.
Enjoy the applause.