You know that moment at Thanksgiving when everyone’s eyeing the pies, but getting a perfect slice feels like solving a mystery?
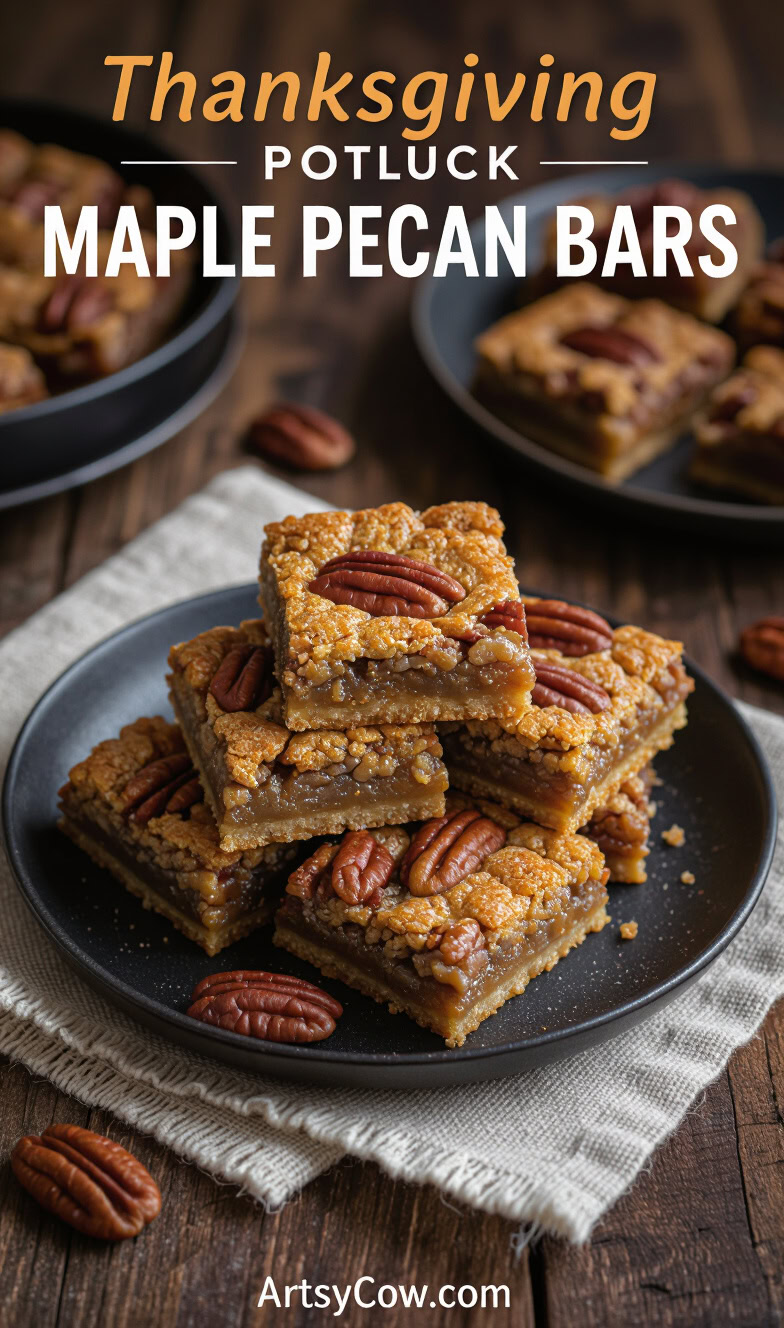
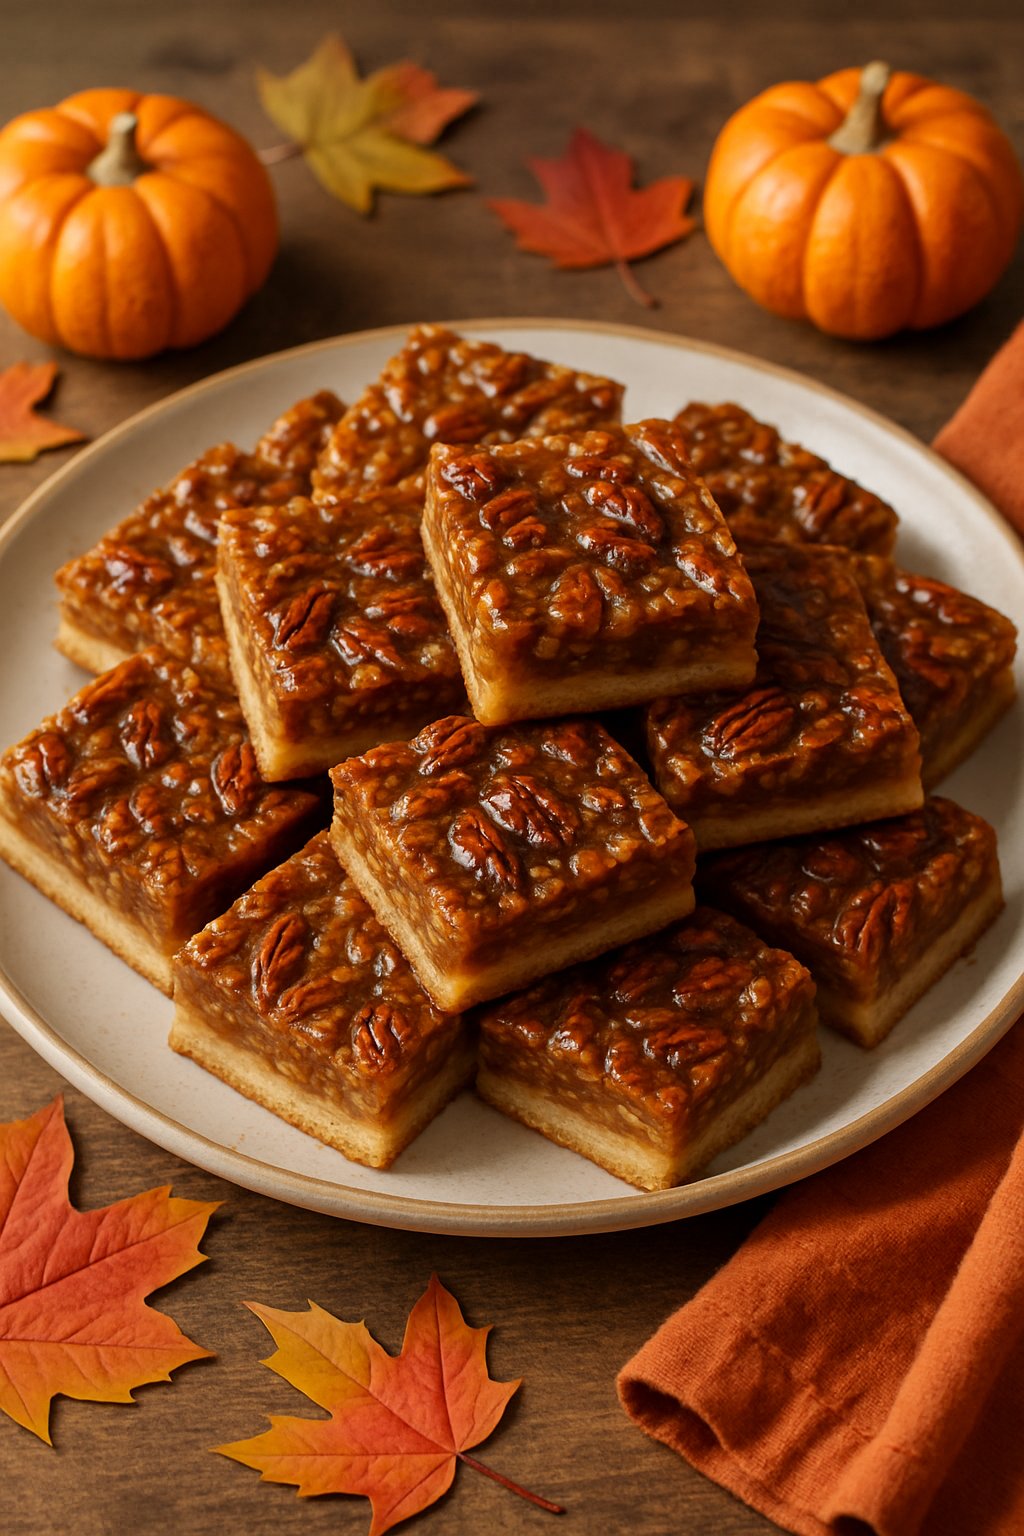
Imagine wowing your potluck crowd with something easier to cut, serve, and eat: maple pecan bars.
These bars pack all the rich, gooey flavors of classic pecan pie—without the fuss of rolling out a crust or wrestling with a pie server.
Say goodbye to sticky hands and stubborn pie plates.
Your guests can just grab a bar and keep mingling, and you can relax knowing you won’t be stuck with a pile of dirty dessert plates.
If you’re looking for a way to impress at your next Thanksgiving potluck, these maple pecan bars might become your new holiday hero.
Contents
- 1 Equipment
- 2 Ingredients
- 3 Instructions
- 4 What You Need To Know
- 5 Frequently Asked Questions
- 5.1 How do I avoid turning my maple pecan bars into maple pecan bricks?
- 5.2 What’s the secret to getting that ooey-gooey filling just right in maple pecan bars?
- 5.3 Can I make maple pecan bars that will taste as good as grandma’s, or is that just a wild kitchen fantasy?
- 5.4 What are the odds of my friends noticing if I pass off a store-bought maple pecan bar as my own creation?
- 5.5 Does anyone actually measure the maple syrup in pecan bars, or is it more like a pour-and-pray situation?
- 5.6 Will using old-fashioned pecan bar techniques make my recipe vintage chic or just old school?
- 6 Author
Equipment
Before you whip up maple pecan bars that’ll have friends and relatives lining up for seconds, let’s talk gear.
You don’t need a chef’s diploma or a kitchen full of gadgets.
Just a few basic tools will help you get that perfect sweet crunch.
Here’s what you’ll need:
- 9×13-inch baking pan: The main stage for your gooey, nutty show.
- Parchment paper or foil: For easy clean-up and to save you from chiseling crust from the pan like a kitchen archaeologist.
- Measuring cups and spoons: Guesswork is fun until your bars taste like maple soup.
- Mixing bowls (you want options for wet and dry).
- Whisk or electric mixer: You can whisk by hand. Or use an electric mixer and feel fancy.
- Rubber spatula or wooden spoon: Who knew butter could be so stubborn?
- Sharp knife: For slicing bars into fair (or unfair, we don’t judge) portions.
- Wire rack: Cools the bars so you don’t rush it and end up with a melted mess.
Optional, but handy:
- Offset spatula: Smoothing the filling is more fun than you think.
- Food processor: Great if you want a perfectly blended crust, but hands and a fork work, too.
That’s it!
If you don’t have a wire rack, cooling on your counter totally counts as “rustic style.”
For more tips, check out these pecan pie bar recipes.
Ingredients
You’ve gathered your courage for the Thanksgiving potluck, but the real hero is this list of sweet ingredients.
Ready your stretchy pants.
To craft your Maple Pecan Bars, you’ll need:
| Ingredient | Quantity |
|---|---|
| All-purpose flour | 2 cups |
| Unsalted butter | 1 cup (softened) |
| Granulated sugar | 1/2 cup |
| Salt | 1/4 teaspoon |
| Maple syrup | 3/4 cup |
| Brown sugar | 1/2 cup (packed) |
| Eggs | 3 large |
| Vanilla extract | 1 teaspoon |
| Pecan halves/chopped | 2 cups |
You may be wondering if you could just eat the pecans and call it a day.
Sure, but then you’d miss that sweet maple magic.
Don’t skip the salt!
It’s the pinch that keeps things from tasting like flat sugar with a nut problem.
Chop those pecans like you’re prepping for a stress test.
The more even, the better—nobody likes a rogue pecan chunk trying to ruin dessert symmetry.
Instructions
- First, preheat your oven to 350°F. Yes, go ahead and set it. You want these bars baked, not warmed by wishful thinking.
- Line your baking pan with parchment paper unless you enjoy chiseling dessert out of the corners.
- Grab a bowl and mix your dry ingredients and softened butter until it looks like clumpy sand at the beach—just less gritty and more edible.
- Press this mixture into the bottom of your pan. Try to even it out, but don’t stress; this isn’t a beauty contest.
- Pop the crust into the oven and bake until it’s golden, about 15 minutes. Watch carefully, unless you’re going for “extra crispy.”
- While the crust is having its spa day, whisk together the wet ingredients and salt in another bowl . Make it as smooth as your best dance moves.
- Stir in the pecans. Yes, lots of them.
- Pour the pecan mixture over your happy, warm crust. Spread it out, trying not to eat it with a spoon.
- Bake again until the filling is set and the kitchen smells like roasted maple heaven—about 25–30 minutes.
- Let the bars cool completely (patience, grasshopper) before cutting. Otherwise, you’ll have maple pecan chaos.
- Slice, serve, and enjoy the compliments. Try not to brag too much.
For a similar recipe with step-by-step pictures, check out this Maple Pecan Bars guide.
What You Need To Know
Here’s the thing: maple pecan bars are the sneaky MVP of Thanksgiving desserts.
No pie crust acrobatics, no weird specialty tools, no need to fake a smile while someone asks if you made them from scratch.
They’re easy to slice, easy to share, and—let’s be honest—way less stressful than most holiday bakes.
They’re a little gooey, a little crumbly, and packed with that autumn flavor that just feels right at a family gathering.
Honestly, if you want something that’ll get folks talking (and maybe even asking for the recipe), you can’t go wrong here.
Just don’t forget a few napkins—these bars are sticky in the best possible way.
Want to see more tips or compare your results? Check out the maple pecan bar guide at Bigger Bolder Baking.
Frequently Asked Questions
Sometimes baking maple pecan bars can feel like trying to impress your in-laws—stressful, a little crumbly, and prone to unwanted stickiness.
Here’s a quick guide to dodging disasters and surviving dessert drama with your baking reputation (mostly) intact.
How do I avoid turning my maple pecan bars into maple pecan bricks?
Don’t overbake your bars, unless you want to break a tooth at Thanksgiving.
Watch the oven, and as soon as the edges start to set and the middle jiggles a little, pull them out.
Cooling also helps them firm up, but you’re not trying to make edible granite countertops.
What’s the secret to getting that ooey-gooey filling just right in maple pecan bars?
The magic is in the mix of the right amount of butter, brown sugar, and maple syrup.
Stir everything until smooth, then bake until it’s just set with a very slight wobble.
For extra insurance, use a recipe that calls for a shortbread crust and a fully combined syrup mixture like this maple pecan bar recipe.
Can I make maple pecan bars that will taste as good as grandma’s, or is that just a wild kitchen fantasy?
You can absolutely come close.
Use real maple syrup, fresh pecans, and lots of brown sugar.
Bonus points if you serve them on your grandma’s ancient holiday plate—nostalgia improves flavor more than any spice.
What are the odds of my friends noticing if I pass off a store-bought maple pecan bar as my own creation?
If you hide the store packaging well and toss a little flour on your shirt, there’s a 50/50 chance you’ll fool everyone.
Unless someone asks for the recipe or your bars taste suspiciously like last year’s mass-produced batch.
Does anyone actually measure the maple syrup in pecan bars, or is it more like a pour-and-pray situation?
Honestly, most folks just pour until it looks about right, hoping for the best. But if you want bars that come out the same every time, grabbing a measuring cup is probably smart.
Go overboard and you’ll end up with a gooey, sticky mess. Skimp on it, and those bars might turn out disappointingly dry.
You really don’t have to wing it like a TV chef to get great results, though. Measuring might not be glamorous, but it saves you from surprises.
Will using old-fashioned pecan bar techniques make my recipe vintage chic or just old school?
Going old-school with hand-chopped pecans and mixing by spoon might win over the food snobs. For everyone else, it just means more cleanup.
Still, there’s something about a little retro flair that feels right—unless you’re aiming for that “aged” taste by letting your bars sit out for days. That’s probably a step too far.